September 11, 2026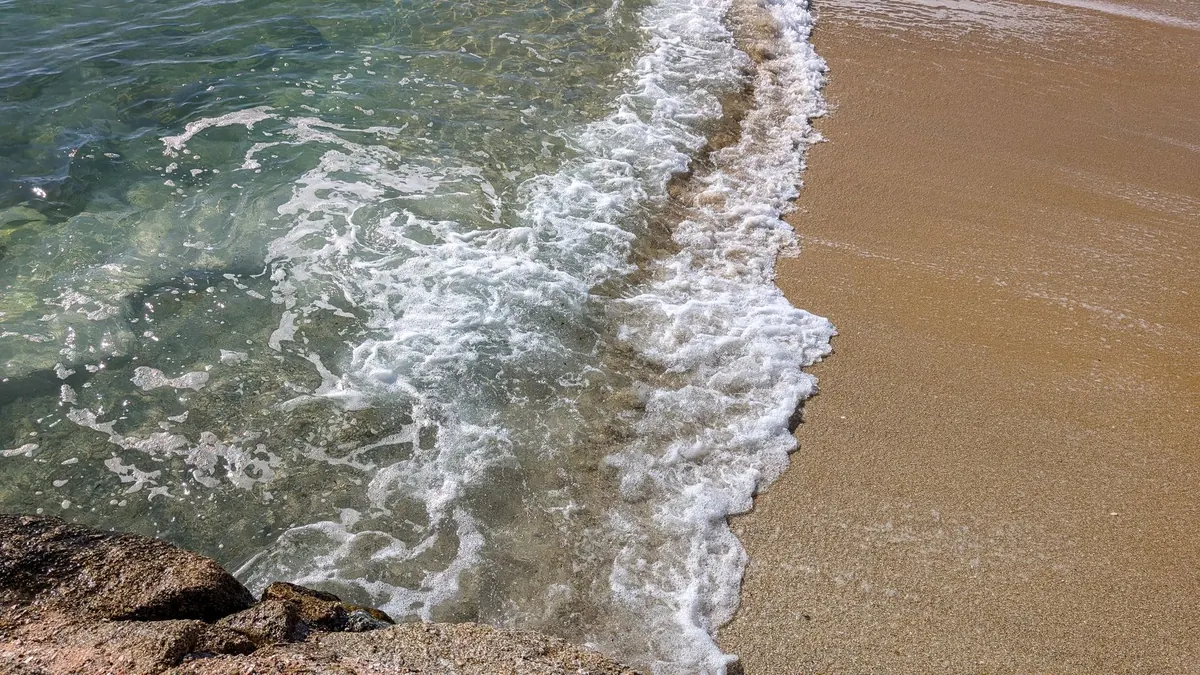
Tide tables look like the least exciting thing on a harbour noticeboard: rows of times, columns of numbers in metres, a few asterisks. They are also the single most useful thing you can look at before a coastal walk. Read one properly and you will know how much beach you have under your boots, how long it will last, and the exact moment to turn around.
The common mistake is to check only the time of high water and assume the rest of the day is safe. Height matters just as much as timing, and so does the shape of the coast you are walking. None of it requires nautical training — just a few minutes and a bit of care about which numbers you are reading.
What a tide table actually tells you
Every table lists, for each day, the time and height of high and low water. Heights are given in metres above chart datum, a baseline usually set at roughly the lowest astronomical tide. That is why the figures are almost always positive: 0.3m means barely any water over the charted seabed, while 5.4m means a great deal of it.
Two things catch people out. First, the table is written for a specific port, and the further you walk from it, the less exact it becomes — a table for a big commercial harbour may be an hour or more out for a shallow estuary ten miles along the coast. Where a location only has a secondary listing, it comes with corrections to apply to the main port's figures. Second, some places have odd tides: parts of the Solent, for instance, get a double high water, so you may see two peaks of different heights rather than a neat single one.
Times are local, and an hour matters
Check whether the table is in GMT or British Summer Time. In a tidal cycle of roughly six hours between high and low water, an hour of confusion is the difference between a dry causeway and a waist-deep one. If you are comparing an online table with a printed booklet, make sure both are in the same time zone before you plan anything.
Predictions are also just that. Strong winds, low pressure and heavy rain inland can all shift the timing and the height of a tide by more than you would like. Treat the printed time as the centre of a window rather than a finishing line.
Heights tell you what the beach will look like
The gap between a day's high and low water is the range. A big range — say 0.4m to 5.2m — means a huge expanse of sand or mud at low water, and a very different coastline six hours later. A small range of 2.6m to 3.4m means the sea barely moves, which sounds reassuring but can be misleading: it also means the water is never far away.
Now compare the high water height with your route. If a headland path drops onto a beach that is cut off above 3.5m, and today's high water is predicted at 4.4m, you have a problem to plan around. Known drying heights, causeways and slipways are usually marked on local notices, harbour information boards or good walking guides.
Springs, neaps and the rule of twelfths
Spring tides — nothing to do with the season — arrive around the new and full moon, when high waters are higher and low waters lower. Neap tides fall around the quarter moons, with a modest range. There is usually a lag of a day or two behind the moon, so the biggest tides often come shortly after full moon rather than on the day itself.
If you want to know how fast the water is coming in, the rule of twelfths is a useful rough guide. In the six hours between low and high water, roughly one twelfth of the total rise happens in the first hour, two in the second, three in the third, three in the fourth, two in the fifth and one in the sixth. In plain terms: the tide barely moves at first, then rushes, then slows. It is an approximation that works best on straightforward stretches of coast, and not at all where a double high water or a large estuary is involved.
What the table does not cover
A tide table ignores the weather and the sea state. Prolonged onshore winds and low atmospheric pressure can push water levels above the predicted height, sometimes substantially, and a big swell will send waves further up the beach than the tide alone suggests. Rivers in flood, shifting shingle banks, harbour bars and soft estuary mud are all local hazards that no column of numbers can warn you about.
Before any walk with a tidal section, write down the time you must be past it — then give yourself an hour more than feels necessary. The sea does not read your plan.
A five-minute routine before you set out
- Find the table for the nearest relevant port, not simply the nearest town on the map.
- Note the high and low water times and heights for the hours you will be walking, including the tide after your planned finish.
- Compare the high water heights with any pinch points on your route: beaches, causeways, rock shelves, river mouths.
- Set a turnaround time at least two hours before high water where a route is tidal, and earlier if you are unsure of the ground.
- Check the forecast for wind direction and strength, plus any inshore swell forecast, and adjust.
- Tell someone your route and expected return time, and carry a charged phone.
On the day: read the coast as well as the paper
Once you are out there, the coast gives you clues that no table can. Look for the strandline of dried seaweed and debris: that is roughly where the last high tide reached. Notice where rocks are dark and damp, where sand is smooth and unmarked, and where a path has been worn in above the obvious water line.
Identify your escape routes as you go, not when you need them. On most coastal paths there is an inland option — a field edge, a lane, a higher path through gorse — and knowing where it joins the coast turns a nervous two miles into a relaxed one. If a section is already being covered by the rising tide, take the higher route without hesitation. Turning back early costs you an afternoon. Getting it wrong costs considerably more, and the walk will still be there tomorrow.
Photo: Robert Carnes / Pexels